Introduction
Paving your backyard can transform not simply the appearances of your outdoor room however additionally its functionality. Whether you're thinking about interlocking pavers for a driveway, outdoor patio, or path, prep work is essential to guaranteeing that your paving installment goes off easily. In this extensive overview, "Exactly how to Prepare Your Yard for Leading Installment: Professional Tips from Bay Location Pros," we'll delve into necessary steps, expert guidance from skilled specialists in the Bay Location, and whatever you need to understand to make your project a success.
Understanding Paving Installation
What Is Leading Installation?
Paving installation refers to the process of setting products such as concrete, asphalt, or interlacing pavers to create a sturdy surface. This procedure includes numerous actions including website prep work, material selection, and correct installation techniques.
Why Choose Interlocking Pavers?
Interlocking pavers are a popular option as a result of their versatility and visual appeal. They can be found in numerous shapes, dimensions, and shades and supply superb drain options. And also, they can be quickly changed if damaged.
How Does a Paver Installer Work?
A specialist paver installer will certainly assess your backyard's certain demands prior to suggesting the best paving solution. They take into consideration variables like dirt kind, climate conditions, and meant use of the led area.
Assessing Your Backyard's Condition
Evaluating Dirt Types
Before you start your paving job, it's vital to review the kind of soil in your backyard. Clay soils may need added drainage options contrasted to sandy soils.
Checking for Water drainage Issues
Water pooling in specific areas can endanger the integrity of your smooth surface areas. Make sure that existing drain systems are functioning properly or take into consideration setting up brand-new ones.
Identifying Existing Obstacles
Look around your yard for existing challenges such as trees or energy lines that can impede paving setup. These need to be attended to prior to laying any kind of pavers.
Planning Your Project
Creating a Style Layout
Sketch out a design format that thinks about both appearances and functionality. Think about how the smooth area will flow with existing landscaping elements.
Selecting Materials
Choose products carefully based upon toughness and look. Interlocking pavers are typically favored for their ease of setup and maintenance.
Preparing Your Yard
Clearing Debris and Vegetation
Start by eliminating all particles from the area where you plan to lead. This consists of rocks, sticks, leaves, and vegetation.
Leveling the Ground
A level base is essential for effective leading installation. Usage devices like shovels and rakes to achieve an also surface prior to relocating on.
Compaction Process
After leveling the ground, compact it making use of a mechanical compactor or hand meddle to ensure stability during leading installation.
Setting Up Borders
Importance of Borders
Borders aid specify led areas and avoid changing with time. Think about using materials like blocks or larger stones as borders.
Installing Side Restraints
Edge restrictions are crucial for holding interlacing pavers in position. They protect against lateral movement throughout freeze-thaw cycles or hefty rains.
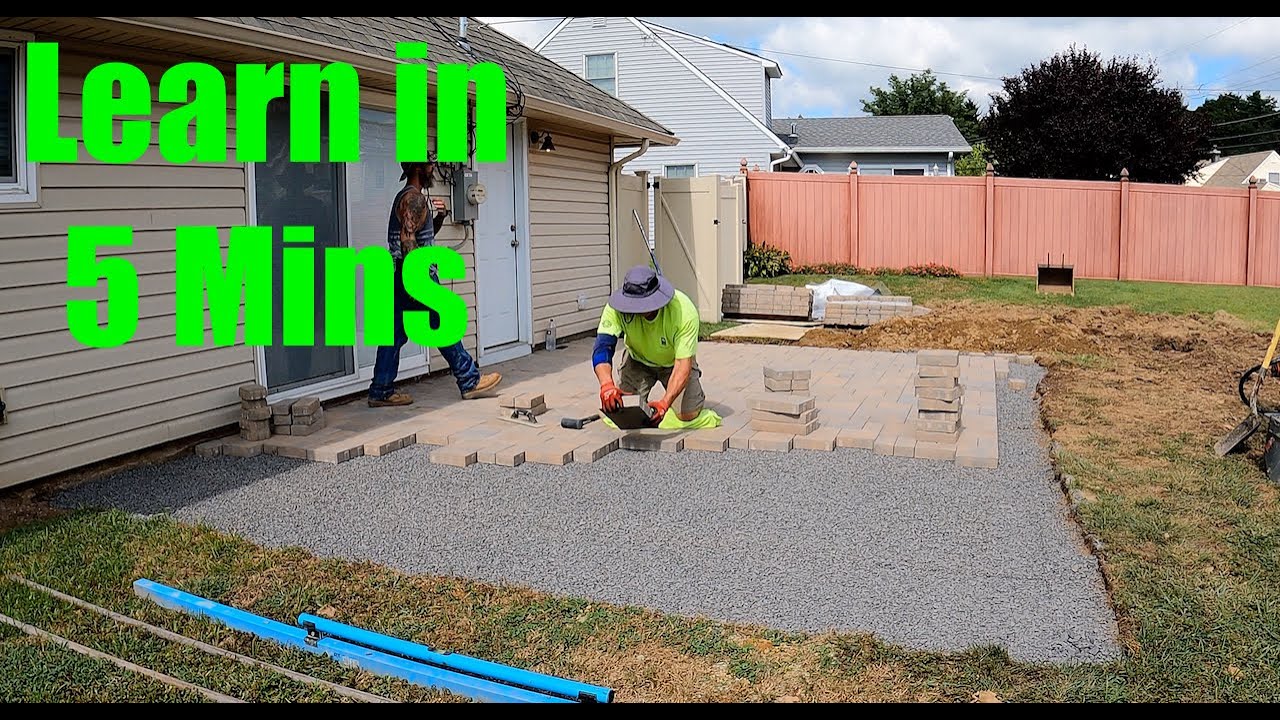
Laying Down Base Material
Choosing Base Material
The sort of base product you choose relies on your dirt condition and designated use of the smooth location. Squashed rock is usually recommended for its strength.
Layering Technique
Apply base material in layers-- normally 3-4 inches at a time-- condensing each layer before adding more product ahead makes certain optimum support.
Installing Interlocking Pavers
The Right Tools
Having the right devices makes all the difference! Essential devices include a rubber mallet, level scale, joint sand, and saw (for cutting pavers).
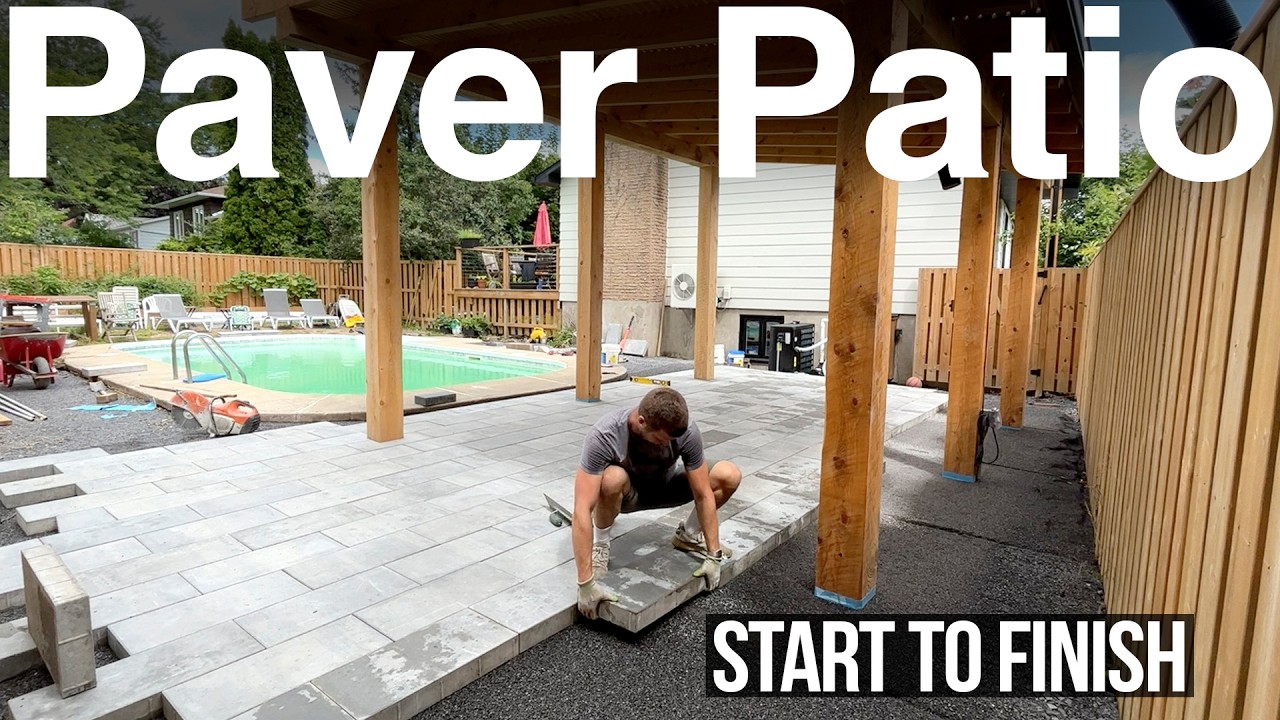
Laying Pavers Correctly
Start at one edge and work your way throughout the marked location. Ensure each paver is snug versus its neighbor while maintaining consistent spacing for joint sand later on.
Incorporating Joint Sand
What Is Joint Sand?
Joint sand fills up gaps between https://shaneupls857.timeforchangecounselling.com/elevate-your-visual-charm-creative-utilizes-for-interlocking-pavers-in-landscape-design pavers which helps secure them with each other while allowing versatility-- an important consider protecting against splitting under pressure.
Application Method
Spread joint sand over the surface besides pavers are set. Sweep it right into joints till they're filled totally before condensing once again a little with a plate compactor.
Final Touches After Installation
Cleaning Up
Once everything is established correctly, clean any excess sand from the surface area of your recently mounted interlocking pavers to boost their appearance!
Sealing Your Smooth Surface
Consider applying a sealant once you have actually completed your job; this safeguards versus stains and improves shade longevity over time!
Maintaining Your Smooth Area
Regular Cleansing Schedule
Regular cleaning keeps your paved surface areas looking their best! Take into consideration sweeping away debris weekly or more regularly if needed-- particularly after storms!
Inspecting for Damage
Periodically check for splits or changing in your interlocking pavers; capturing these issues early can save you substantial repair work costs down the line!
Common Errors Throughout Leading Installation
Ignoring Dirt Quality
Failing to evaluate soil top quality can result in irregular settling over time-- leading inevitably in the direction of expensive repairs!
Skipping Water drainage Solutions
Neglecting correct drain methods results in water merging which jeopardizes both visual value AND structural integrity!
FAQs About Yard Prep work for Leading Installation
What's The Best Time To Install Interlocking Pavers? Spring or early autumn usually offers suitable problems-- modest temperatures allow simple handling while reducing weather-related delays!

Do I Required An Authorization For My Project? It depends! Local regulations vary; always check with local authorities regarding zoning laws relating to building jobs on private property.
How Long Will My New Sidewalk Last? With proper treatment & & maintenance (like regular securing), expect interlacing paver systems lasting anywhere in between 25-- 50 years!
Can I DIY My Own Installation? Absolutely-- lots of home owners select DIY courses-- however know that experience levels matter! Study thoroughly before attempting anything complex.
How Much Does Expert Installation Cost? Costs vary commonly based on size/complexity but generally variety from $10-$30/sq feet relying on selected materials & & labor rates.
Is There Any kind of Maintenance Required After Installation? Yes! Frequently examine joints/sand degrees & & clean surface areas regularly-- to extend life-span & & keep locations looking pristine!
Conclusion
In conclusion, taking careful actions towards preparing your yard for leading setup is essential for attaining resilient results that improve both charm and functionality! From evaluating dirt types via appropriate product selection right down right into completing touches post-installation-- all aspects contribute toward creating an aesthetically pleasing outside area suitable for gatherings or just delighting in nature's appeal in the house!
Armed with understandings gathered here today under "Just how to Prepare Your Yard for Paving Setup: Expert Tips from Bay Area Pros," you should feel confident tackling this task head-on! Invest some time upfront-- it'll pay returns later when appreciating those sensational brand-new interlacing smooth surfaces snuggled within lush landscaping around yours-- producing a welcoming place simply outside those doors!
So why wait? Beginning preparing today & & take satisfaction recognizing you're well-prepared every step along this gratifying trip ahead!